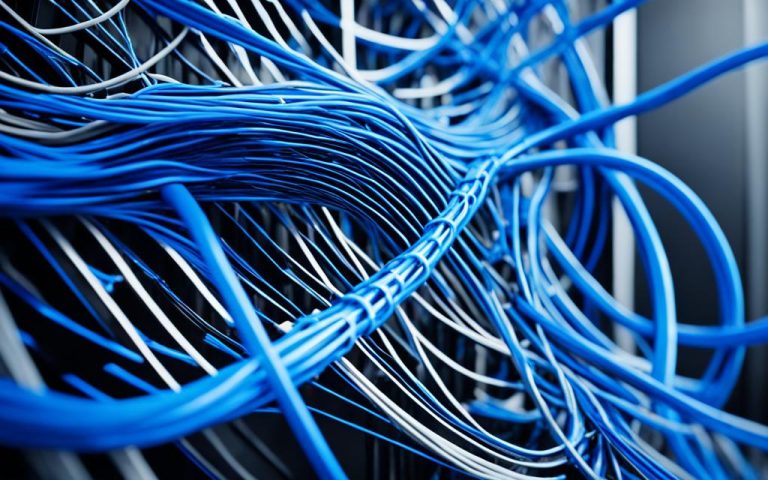
In today’s technology-driven world, reliable and high-speed internet connectivity is essential for businesses and homes alike. The deployment of CAT5 cables plays a crucial role in establishing efficient networking environments for seamless data transmission.
CAT5 cables, also known as Category 5 cables, are widely used for their ability to support fast and stable internet connections. Designed to handle data transfer speeds of up to 1000 Mbps, CAT5 cables are ideal for networking applications in various settings, including offices, homes, schools, and data centers.
Deploying CAT5 cables in modern networking environments requires careful planning and consideration. It involves determining the specific rooms that need to be wired, the number of ports required in each location, and the ideal location for distribution. The path the cables should take and the desired network speeds also need to be taken into account when choosing the appropriate switch and cable type.
Before you begin deploying CAT5 cables in your networking environment, it is crucial to address some initial considerations and plan the installation. By taking the time to carefully strategize your CAT5 installation, you can ensure a seamless process and optimal network performance.
Determining Room Requirements: Start by identifying the rooms that need to be wired with CAT5 cables. Consider areas such as offices, conference rooms, and server rooms. Assess each location’s needs and determine the number of network ports required in each room. This will help you estimate the quantity of cables and switches needed.
Choosing a Distribution Location: Find a suitable space where you can centralize the distribution of your CAT5 cables. This location should be easily accessible and ideally situated in a laundry room or utility closet. Ensure that it has proper ventilation and storage space for your network equipment.
Planning the Cable Path: Consider the path your CAT5 cables will take from the distribution location to each room. Evaluate whether you’ll need to run cables through an attic, basement, or hidden conduits within walls. Take into account any potential obstacles or limitations that could affect the cable installation process.
Network Speed Requirements: Determine the desired network speed for your environment. This will determine the type of switch and cable you should use. CAT5e cables are suitable for most residential and small business networks, while CAT6 cables are better suited for environments requiring higher bandwidth and data transfer speeds.
By carefully considering these initial factors, you can establish a solid foundation for your CAT5 cable deployment. It’s important to have a clear plan in place before proceeding with the installation.
Quote: “Planning is key when it comes to deploying CAT5 cables. Taking the time to assess your requirements and map out the installation process will save you time and ensure a successful deployment.” – Mark Johnson, IT Network Manager
Step 2: Required Tools and Materials (and Costs)
Installing CAT5 cables requires specific tools and materials to ensure a successful installation. Here is a list of the essential items you will need:
Tools:
Ethernet crimping tool: Used to terminate the Cat5 cable with RJ-45 connectors.
Drill: Necessary for creating holes in walls or ceilings for cable routing.
Paddle bit or hole saw: Used with the drill to create larger holes for cable passage.
Pointed hand saw: For cutting openings in drywall or other materials.
Strong string or fish tape: Helps guide the cable through walls, conduits, or tight spaces.
Label maker: Useful for organizing and identifying cables.
Pencil, marker, and ruler: Used for measuring and marking cable lengths and locations.
Stud finder: Helps locate wall studs or other supports for secure mounting.
Punchdown tool: Used to connect the Cat5 cable to jacks or patch panels.
Laptop or cable tester: Essential for testing network connections and troubleshooting.
Materials:
CAT5e or CAT6 cable: The primary medium for transmitting network signals.
Single gang retrofit boxes: Mounting boxes for securing the network jacks.
RJ-45 jacks and plates: Connectors for terminating the Cat5 cable.
Plastic grommet: Protects cables when passing through walls or surfaces.
Patch panel: Used for organizing and managing cable connections in a central location.
Ethernet switch: Connects multiple network devices to establish a local network.
Router/firewall: Provides internet connectivity and network security.
Velcro strips for cable management: Keeps cables organized and reduces clutter.
Short patch cables: Used to connect devices to the network.
Costs:
The costs of CAT5 installation tools and materials can vary depending on factors such as brand, quality, and quantity required. Below is a table summarizing the approximate costs of some common items:
Tool/Material
Approximate Cost
Ethernet crimping tool
$20 – $50
Drill
$30 – $100+
Paddle bit or hole saw
$10 – $30
Pointed hand saw
$10 – $20
Strong string or fish tape
$10 – $20
Label maker
$20 – $50+
Pencil, marker, and ruler
$5 – $10
Stud finder
$10 – $50
Punchdown tool
$15 – $40
Laptop or cable tester
$50 – $150+
CAT5e or CAT6 cable (per foot)
$0.10 – $0.50
Single gang retrofit boxes
$1 – $5
RJ-45 jacks and plates
$1 – $5
Plastic grommet
$1 – $5
Patch panel
$30 – $100+
Ethernet switch
$20 – $200+
Router/firewall
$50 – $200+
Velcro strips for cable management
$5 – $15
Short patch cables (per cable)
$1 – $5
Keep in mind that these costs are approximate and may vary depending on the retailer, location, and available discounts or promotions.
Step 3: Mounting the Wall Plates
After planning and gathering the necessary tools and materials, the next step in deploying CAT5 cables is mounting the wall plates. This crucial step ensures that the ethernet jacks are positioned correctly for optimal connectivity and accessibility. To start, locate the cable TV jacks in each room where the CAT5 cables will be installed. This step helps determine the best position for the ethernet jacks, considering factors such as room layout and future expansion needs.
Once the ideal locations for the wall plates are determined, a stud finder is used to identify the studs behind the drywall. This helps ensure that the wall plates are securely mounted to provide stability and prevent any looseness or damage over time. It is important to clamp the wall plates tightly to the back of the drywall, maintaining a flush and secure fit.
This process is repeated for each location where the CAT5 cables will be run, such as office spaces, living rooms, or bedrooms. The goal is to create a uniform and organized network infrastructure throughout the entire property.
By mounting the wall plates in the proper locations, the CAT5 cables can be easily connected to the network devices and ethernet jacks. This not only simplifies the installation process but also ensures a neat and professional finish for the network setup.
Step 4: Measuring and Running the Cables
Once the wall plates are securely mounted, the next crucial step in deploying CAT5 cables is to accurately measure and run them through the walls. This process ensures that the cables reach their respective destinations and can effectively support the network infrastructure. To accomplish this, there are specific methods and considerations that need to be taken into account.
Measuring the Cables for CAT5 Installation
Properly measuring the cables is essential to avoid wastage and ensure a neat installation. One common method is running one cable to each room from the distribution room and then cutting three more equal lengths. This allows for flexibility and provides extra cable length for any unforeseen circumstances during installation. Alternatively, precise measurements can be taken based on the distance from the distribution room to each location, factoring in any obstacles or detours along the way.
Running the Cables
After the cables are accurately measured, the next step is to run them through the walls to their respective destinations. This requires drilling holes in the top plates of the walls to create pathways for the cables. Care should be taken to choose suitable locations that minimize visibility and ensure a clean finish. Once the holes are made, the labeled cables can be dropped into them, ready to be connected at their endpoints.
At this stage, it is crucial to keep track of the cables by labeling both ends. This labeling helps identify each cable’s purpose and destination, minimizing confusion during the connection process. It is recommended to use clear and easily readable labels to ensure efficient cable management.
Running the cables through the walls requires precision and attention to detail. It may be necessary to use fish tape or other tools to guide the cables through tight spaces and bends for a smooth installation. Taking the time to properly route and secure the cables will result in a tidy and professional-looking installation.
Ensuring that the cables are properly measured and run is a crucial step in deploying CAT5 cables in modern networking environments. By carefully planning the cable routes, considering any obstacles, and employing precise measurements, a reliable and efficient network infrastructure can be achieved.
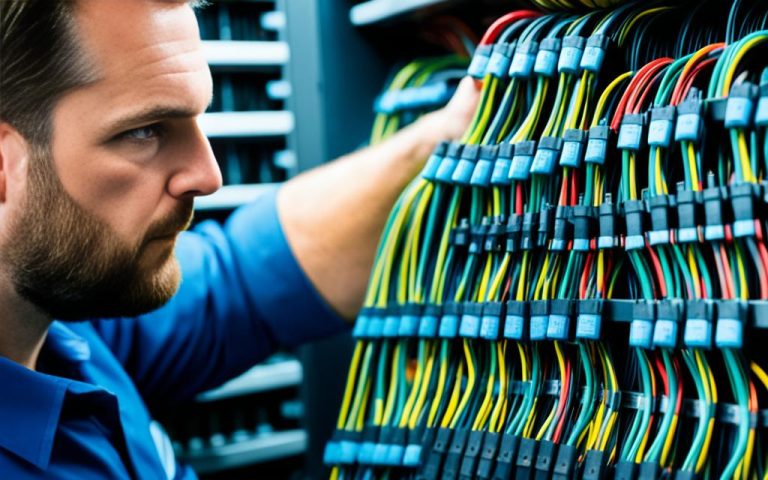
Step 5: Connecting the Wires to the Jacks and Patch Panel
After successfully running the CAT5 cables throughout the desired locations, it’s time to connect the wires to the jacks and patch panel. This crucial step ensures proper transmission and networking capabilities.
To begin, you will need a punchdown tool or a small screwdriver to terminate the cable pairs onto the modules. Depending on the infrastructure, you may have either T568A or T568B wiring standards. Most jacks and panels have diagrams available to guide you through the correct wiring process.
Once you have made the necessary connections, the next step is to mount the patch panel to the wall. The patch panel serves as a central hub that allows for easy and organized cable management. It provides a convenient interface for connecting multiple devices and enables quick and efficient troubleshooting when needed.
With the patch panel securely mounted, it’s time to connect the jacks to their respective wall plates. Simply click the jacks into place, ensuring a sturdy and stable connection. This step completes the wiring setup, enabling seamless communication and data transfer between devices connected through the CAT5 network.
Benefits of Proper Wiring
Connecting the wires to the jacks and patch panel ensures a reliable and efficient network installation. By adhering to the correct wiring standards, you are optimizing the performance of the CAT5 cables, minimizing the risk of signal interference, and maximizing network speeds.
Properly wired connections also allow for easy maintenance, troubleshooting, and future upgrades. With clear and organized wiring configurations, it becomes straightforward to trace and identify specific cables and make any necessary adjustments or repairs.
Troubleshooting Tips
Even with meticulous installation, issues may arise. Here are some troubleshooting tips to help you address common problems:
Double-check the wiring: Ensure that the wires are terminated correctly and match the wiring standards.
Inspect for loose connections: Verify that all connections are secure and firmly seated in the jacks and patch panel.
Test the cables: Use a cable tester to verify the integrity of the connections and identify any faults.
Consider signal interference: Check for any nearby sources of electromagnetic interference and mitigate them if necessary.
Consult documentation: Refer to the manufacturer’s guidelines and documentation for any specific troubleshooting steps or best practices.
By following these troubleshooting tips, you can quickly identify and resolve any connectivity issues, ensuring a robust and reliable CAT5 installation.
Conclusion
Deploying CAT5 cables in modern networking environments requires meticulous planning, the right tools and materials, and proper installation techniques. By following the necessary steps and guidelines, it is possible to establish a reliable and efficient network infrastructure.
Regular maintenance and inspection play a vital role in ensuring the optimal performance and longevity of the ethernet cables. It is recommended to periodically check for any signs of damage or wear and promptly address any issues that may arise. This proactive approach helps to minimize downtime and maintain seamless connectivity.
CAT5 usage remains an integral and fundamental component of modern networking. Its versatility and reliability make it an ideal choice for various settings, including homes, offices, and educational institutions. Whether for internet access, VoIP communication, or network connectivity, CAT5 cables provide the necessary backbone for a robust communication infrastructure.
FAQ
What is the first step in deploying CAT5 cables?
The first step is to address initial considerations and plan the installation. This includes determining the desired rooms to be wired, the number of ports needed in each location, and the ideal location for distribution.
What tools and materials are necessary for installing CAT5 cables?
The necessary tools include an Ethernet crimping tool, drill, paddle bit or hole saw, pointed hand saw, strong string or fish tape, label maker, pencil, marker, ruler, stud finder, punchdown tool, and a laptop or cable tester. The materials required include CAT5e or CAT6 cable, single gang retrofit boxes, RJ-45 jacks and plates, plastic grommet, patch panel, Ethernet switch, router/firewall, Velcro strips for cable management, and short patch cables. Costs may vary depending on specific requirements and the availability of tools and materials.
How do you mount the wall plates for CAT5 cables?
The wall plates are securely mounted by clamping them to the back of the drywall using a stud finder. This process is repeated for each location where the cables will be run.
How do you measure and run the CAT5 cables?
The cables can be measured and run by using various methods. One method is to run one cable to each room from the distribution room and then cut three more equal lengths. The top plates of the walls are drilled to create holes for the cables to be dropped into. The cables are labeled on both ends and run through the walls to their respective destinations.
How do you connect the wires to the jacks and patch panel for CAT5 cables?
The wires are connected to the jacks and patch panel using a punchdown tool or small screwdriver to terminate the cable pairs onto the modules. Most jacks and panels have diagrams for the common T568A and T568B wiring standards. Once the connections are made, the patch panel is mounted to the wall and the jacks are clicked into their respective wall plates.
What are the key steps for deploying CAT5 cables in modern networking environments?
The key steps include addressing initial considerations and planning the installation, gathering the necessary tools and materials, mounting the wall plates, measuring and running the cables, and connecting the wires to the jacks and patch panel.
Why is deploying CAT5 cables important in modern networking environments?
Deploying CAT5 cables is important as it allows for reliable and efficient network infrastructure, supports communication infrastructure, and provides the necessary connectivity for modern networking needs.
Twisted Pair cabling, specifically CAT 7, plays a crucial role in ensuring reliable connectivity in smart homes. While the focus is often on the end components of smart technology, the…
When it comes to meeting the demands of high-frequency networking and advanced networking needs, selecting the right Ethernet cable is crucial. Whether you’re building a robust network infrastructure for a…
Innovations in twisted pair cabling have revolutionized the way data is transmitted and connected. As technology advances, the demand for enhanced data connectivity continues to grow. Twisted pair cable technology…
In the world of networking, twisted pair networks play a crucial role in ensuring seamless connectivity between devices. However, even the most robust networks can encounter connectivity problems at times….
Twisted pair cables are a critical component of network infrastructure, and their performance and safety are determined by certification standards. These standards ensure that the cables meet the necessary requirements…
Welcome to our article on promoting sustainability in twisted pair cable usage. As technology evolves and businesses become more environmentally conscious, the demand for eco-friendly networking solutions is on the…


One Comment