If you rely on twisted pair cables for networking purposes, you know how frustrating it can be when they become damaged. From connectivity issues to performance problems, damaged cables can wreak havoc on your network. Luckily, with the right repair techniques, you can quickly get your cables back in working order.
Before diving into the repair process, it’s crucial to identify the type of cable you’re dealing with. Different cables have different connectors, wires, and shielding, which means they require specific repair methods. By properly identifying the cable type, you can ensure you’re using the correct repair techniques.
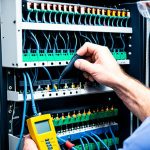
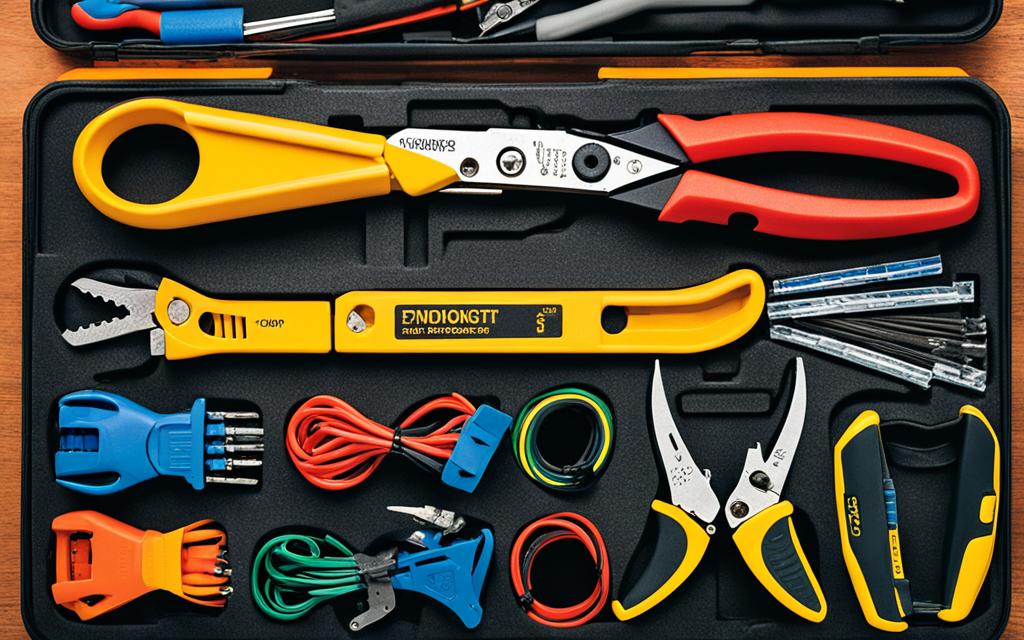
Gathering the right tools and materials is the next step in repairing damaged twisted pair cables. You’ll need a wire stripper or sharp knife to remove insulation, a soldering iron and solder to join wires, heat shrink tubing or electrical tape to cover exposed wires, and a multimeter or continuity tester to check electrical flow. Don’t forget to wear protective gloves and goggles for safety.
Now that you’re equipped with the knowledge and tools, it’s time to get down to business. The repair process involves cutting the damaged part of the cable, joining the wires, soldering them together, and covering them with heat shrink tubing or electrical tape. It’s essential to check for consistent electrical flow and resistance throughout the repair process.
Repairing damaged twisted pair cables is crucial for maintaining network stability and ensuring the proper functioning of your computer hardware. By following the right techniques and using the correct tools, you can effectively repair and restore damaged cables, resulting in improved network performance. Refer to the conclusion for additional tips on effective cable repair techniques.
Identifying the Cable Type
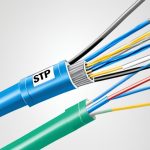
Before repairing a damaged twisted pair cable, it is crucial to identify the type of cable and its corresponding function. Different cables have different connectors, wires, and shielding, which require different repair methods. For example, power cables have thicker and more insulated wires than data cables. It is also important to check the label or manual of the hardware to see if the cable is replaceable.
“To effectively repair a damaged twisted pair cable, it is crucial to identify the type of cable and its corresponding function.”
Identifying the cable type is essential for achieving a successful repair. By understanding the specific characteristics of the cable, such as its connectors and shielding, technicians can select the appropriate tools and techniques to fix the damaged cable.
For instance, when repairing a Category 5 Ethernet cable, it is essential to spot the corresponding RJ-45 connector used for connecting network devices. This type of cable is commonly used for high-speed data transmission in networking applications.
When dealing with coaxial cables, on the other hand, technicians need to identify the specific connectors used, such as BNC or F-Type connectors. Coaxial cables are commonly used in audio, video, and RF applications.
Another essential aspect to consider when identifying the cable type is its functionality. For example, power cables might have a different construction and insulation compared to data cables. It is crucial to understand the purpose and usage of the cable to ensure an accurate repair.
To aid in the identification process, the manufacturer’s label or manual can provide valuable information about the cable’s specifications and intended use. This documentation may include details about the cable’s make, model, and compatibility.
“Different cables have different connectors, wires, and shielding, which require different repair methods.”
By correctly identifying the cable type, technicians can proceed with confidence in repairing the damaged cable. This knowledge ensures that the appropriate tools, materials, and techniques are used, resulting in an effective and reliable repair.
Common Types of Twisted Pair Cables and Connectors
| Cable Type | Connector Type | Common Usage |
|---|---|---|
| Category 5 (Cat5) | RJ-45 | High-speed data transmission in networking |
| Category 6 (Cat6) | RJ-45 | Enhanced high-speed data transmission in networking |
| Coaxial Cable | BNC, F-Type | Audio, video, and RF applications |
| Power Cable | Various (depends on the country/region) | Electrical power transmission |
Understanding the different cable types and their corresponding connectors is key to achieving a successful repair. By accurately identifying the cable type, technicians can ensure that the appropriate repair techniques and tools are utilized, ultimately restoring the damaged cable to its optimal functionality.
Gathering the Right Tools and Materials
To effectively repair a twisted pair cable, it is necessary to gather the appropriate tools and materials. Having the right equipment ensures a successful and efficient repair process.
Here are the essential cable repair tools and materials you will need:
Tools:
- Wire stripper or sharp knife: for removing insulation from the cable.
- Soldering iron and solder: for joining wires together securely.
- Heat shrink tubing or electrical tape: for covering exposed wires and providing insulation.
- Multimeter or continuity tester: for checking electrical flow and ensuring a proper connection.
- Scissors or wire cutters: for trimming excess wires.
- Screwdriver or pliers: for opening connectors.
Materials:
- Wire stripper or sharp knife
- Soldering iron and solder
- Heat shrink tubing or electrical tape
- Multimeter or continuity tester
- Scissors or wire cutters
- Screwdriver or pliers
Remember to prioritize safety during the repair process. It is essential to wear protective gloves and goggles to prevent any accidents or injuries.
Repairing the Cable
The process of repairing a twisted pair cable involves several steps. It’s crucial to follow these steps carefully to ensure a successful repair and restore the cable’s functionality.
- Cut the damaged part: Begin by identifying the damaged section of the cable. Using wire cutters or a knife, cut the cable approximately an inch away from the visibly damaged area. This ensures that you remove all the damaged parts and start the repair process with healthy wires.
- Expose the healthy wires: After cutting the damaged part, use a wire stripper or knife to carefully remove the outer insulation from the cable ends. Be cautious to strip only the necessary amount to expose the healthy wires, as excessive stripping can lead to signal loss or further damage.
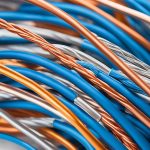
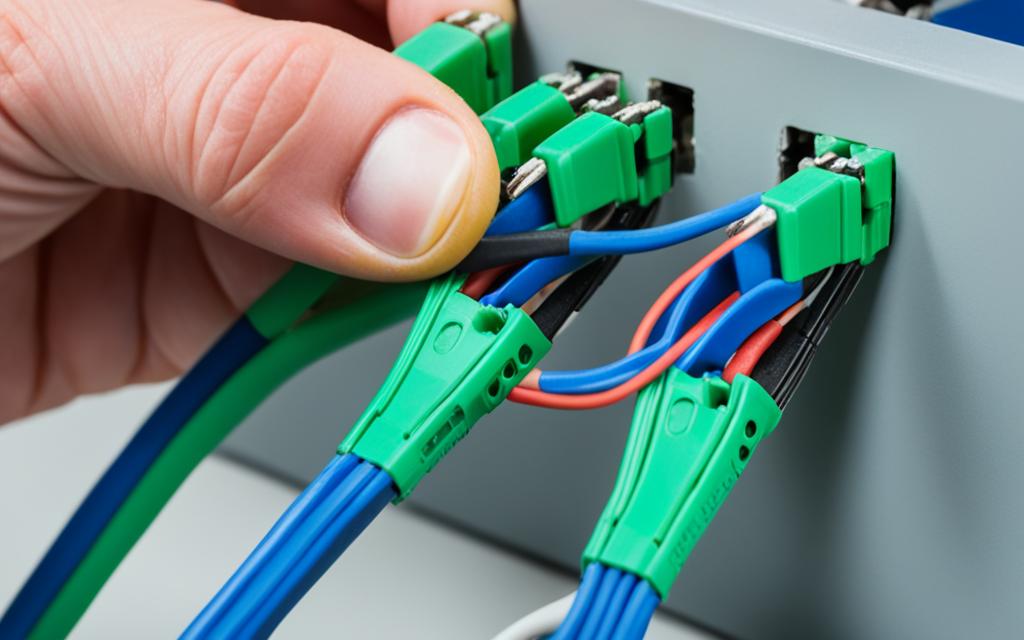
- Join the wires: Match the colors of the corresponding wires on both ends of the cable. Twist the exposed ends of the wires firmly together, ensuring a secure connection. This step is crucial for maintaining the integrity of the cable’s signal transmission.
- Solder the wires: To create a strong and durable bond between the joined wires, use a soldering iron and solder. Apply heat to the soldering iron and melt the solder onto the twisted wire connection, ensuring that it covers and bonds the entire joint. This process helps to prevent signal loss and ensures a reliable connection.
- Check electrical flow: Use a multimeter or continuity tester to verify consistent electrical flow through the repaired cable. Test the continuity and resistance of the repaired wires to ensure they meet the required specifications. This step helps to confirm that the repair was successful and the cable is functioning properly.
- Protect the exposed wires: To protect the repaired section from external factors, such as moisture or physical damage, cover the exposed wires with heat shrink tubing or electrical tape. This provides insulation and safeguards the repaired area, prolonging the cable’s lifespan.
By following these cable repair steps, including cutting the damaged part, joining the wires, and properly insulating the repaired section, you can effectively restore the functionality of a twisted pair cable. This ensures reliable network connectivity and avoids potential performance issues.
Image:
Conclusion
Ensuring the stability of your network and maintaining the proper functioning of your computer hardware is crucial, and repairing damaged twisted pair cables plays a key role in achieving this. By following the right techniques and utilizing the correct tools and materials, you can effectively restore and repair these cables, optimizing network performance.
Identifying the type of cable, gathering the necessary tools, and implementing the repair steps are essential aspects of cable repair. Taking the time to carefully identify the cable type and its corresponding function allows you to select the appropriate repair method. Equipping yourself with the right tools, such as a wire stripper, soldering iron, and heat shrink tubing, enhances your ability to effectively fix the damaged cable.
When it comes to the repair process itself, cutting the damaged part and joining the wires correctly are crucial steps. By matching the colors of the wires and ensuring a strong bond using a soldering iron, you can restore connectivity. It is also important to cover the exposed wires with heat shrink tubing or electrical tape for protection against external factors.
By following these tips for cable repair, you can maintain network stability and improve the performance of your computer hardware. A well-executed repair will result in robust connectivity, ensuring a smooth and reliable network experience.
FAQ
How do I identify the type of twisted pair cable?
To identify the type of twisted pair cable, you can check the label or manual of the hardware. Different cables have different connectors, wires, and shielding, which require different repair methods.
What tools and materials do I need to repair a twisted pair cable?
To effectively repair a twisted pair cable, you will need a wire stripper or sharp knife for removing insulation, a soldering iron and solder for joining wires, heat shrink tubing or electrical tape for covering exposed wires, a multimeter or continuity tester for checking electrical flow, scissors or wire cutters for trimming excess wires, and a screwdriver or plier for opening connectors. It is also important to wear protective gloves and goggles when performing the repair.
What are the steps to repair a twisted pair cable?
The process of repairing a twisted pair cable involves several steps. First, cut the damaged part of the cable and expose the healthy wires. Use a wire stripper or knife to remove the outer insulation. Next, join the wires together by matching their colors and twisting them firmly. Use a soldering iron and solder to create a strong bond between the wires. Check for consistent electrical flow and resistance using a multimeter or continuity tester. Finally, cover the exposed wires with heat shrink tubing or electrical tape to protect them from external factors.
Why is repairing damaged twisted pair cables important?
Repairing damaged twisted pair cables is essential for maintaining network stability and ensuring the proper functioning of computer hardware. By following the right techniques and using the correct tools and materials, it is possible to effectively repair and restore damaged cables, resulting in robust connectivity and improved network performance.


