Step-by-Step Guide on How to Mapping a Network Drive
By
Finding shared files on a network can be challenging, but learning to map a network drive simplifies this task. By assigning a drive letter to a shared folder, it becomes easily accessible like any local file on your system.
This comprehensive guide will walk you through the process of mapping network drives in Windows, making shared resources easily accessible. By creating a direct connection between your computer and shared folders, you can save time and enhance your workflow efficiency.
We’ll cover three methods for mapping a network drive: using File Explorer, Command Prompt, and PowerShell, catering to both beginners and advanced users. Understanding how to properly map network drives can significantly improve your access to files across organizational networks.
The ability to map network drives has revolutionized the way we access and share information across different locations. By creating a shortcut to files stored on a remote server or another computer, users can enjoy seamless access to important data.
What Is a Network Drive?
A network drive is essentially a storage location that exists on a remote server or computer but appears as a local drive on your system when mapped correctly. This allows users to access files stored on the network as if they were stored locally.
Mapping network drives offers several benefits, including:
Easy access to shared files and folders
Simplified collaboration among team members
Centralized file storage and backup
Reduced need to navigate complex network paths
By mapping a network drive to a shared folder, users can enjoy a more streamlined workflow and improved productivity. This simple yet effective technique is a valuable tool in today’s fast-paced digital environment.
Prerequisites for How to Mapping a Network Drive
Before you start mapping a network drive, several prerequisites must be met to ensure a smooth process. Your computer must be connected to the network where the shared folder exists.
Required Network Access
To map a network drive, you need to have the necessary access permissions for the network location. For remote connections, establishing a VPN connection is necessary to securely access the network. Ensure your computer is properly connected and that network discovery is enabled.
Necessary Credentials
You must have the correct credentials, including a valid login username and password, to authenticate access to the shared folder. The correct network path information, typically in the format of \\server\sharedfolder, is also required. For more information on finding your computer’s login information, visit this resource. Different versions of Windows may have slightly different interfaces, but the core process remains consistent.
Step-by-Step Methods to Map Network Drives
There are multiple ways to map a network drive, each with its own advantages and user interfaces. The choice of method depends on your comfort with technology and specific needs, such as the need for automation or a graphical interface.
Using File Explorer
File Explorer provides the most user-friendly method for mapping network drives. To start, open File Explorer and navigate to “This PC.” From there, you can initiate the mapping process.
Selecting Drive Letter
When mapping a network drive using File Explorer, the first step is to choose a drive letter. It’s advisable to select a letter that’s not already in use, preferably towards the end of the alphabet (like X, Y, or Z) to avoid conflicts with future local drives.
Entering Network Path
The next step is to enter the network path in the correct format (\\server\sharedfolder). This ensures that the shared resource on your network is successfully located.
Setting Connection Options
You have the option to set additional connection settings, such as “Reconnect at sign-in” to ensure the mapped drive is available upon startup, and “Connect using different credentials” if your network requires alternative login details.
Completing the Mapping Process
After configuring the settings, click “Finish” to complete the mapping process. The newly mapped drive will appear in File Explorer alongside your local drives.
Using Command Prompt
For those comfortable with command-line interfaces, Command Prompt offers a faster method to map network drives.
The Net Use Command
To map a network drive using Command Prompt, use the “net use” command followed by the desired drive letter and the network path. For example: net use Z: \\server\sharedfolder.
Verifying the Connection
A successful mapping will result in a confirmation message. You can verify the connection by checking File Explorer for the newly mapped drive.
Using PowerShell
PowerShell provides the most powerful and flexible approach to drive mapping, ideal for automation and scripting.
The New-PSDrive Cmdlet
To map a network drive using PowerShell, utilize the New-PSDrive cmdlet. For instance: New-PSDrive -Name "Z" -PSProvider FileSystem -Root "\\server\sharedfolder" -Persist. This command creates a persistent mapping.
Confirming Successful Mapping
After executing the command, confirm that the drive is successfully mapped by checking File Explorer. The new drive should be visible and accessible.
Each of these methods offers different advantages, whether it’s the ease of use with File Explorer, the quickness of Command Prompt, or the flexibility of PowerShell. Choosing the right method depends on your specific needs and preferences.
Conclusion
Efficiently mapping network drives can streamline your workflow and improve overall efficiency. In this guide, we covered three easy methods to map network drives in Windows: File Explorer, Command Prompt, and PowerShell. By using File Explorer, you can simply navigate to “This PC,” select “Map Network Drive,” choose a drive letter, and enter the network path. For those who prefer the command line, the Command Prompt method allows you to use the net use command to map the drive. Similarly, PowerShell provides an alternative using the New-PSDrive cmdlet, ideal for scripting and automation.
Mapping network drives saves time, reduces hassle, and improves efficiency, whether you’re a remote worker or part of a larger organization. You can learn more about advanced techniques, such as using Group Policy to map network drives, by visiting resources like this guide. By implementing these methods, you can maximize efficiency when working with shared files and folders.
FAQ
What is the purpose of mapping a network drive?
Mapping a network drive allows users to access shared files and folders on a network as if they were stored locally on their computer, making it easier to collaborate and share resources.
Can I map a network drive using Windows 10?
Yes, you can map a network drive using File Explorer in Windows 10 by selecting a drive letter and entering the path to the shared folder.
What are the credentials required to access a network drive?
To access a network drive, you typically need to provide a valid username and password authorized to access the shared folder or files on the server.
How do I choose a drive letter for a mapped network drive?
When mapping a network drive, you can select an available drive letter from a list in File Explorer, allowing you to assign a unique identifier to the shared folder or files.
Can I map multiple network drives to different locations?
Yes, you can map multiple network drives to different locations by repeating the mapping process for each shared folder or files you want to access.
What happens if the network path is not available?
If the network path is not available, you may receive an error message when trying to map the network drive or access the shared files; ensure your network connection is stable and the server is online.
ARPANET was started in 1969 by the United States Department of Defense’s ARPA. It was a big step in the start of computer networking. Known as the first network to use packet-switching technology, this allowed computers far apart to share resources well. The breakthroughs from ARPANET made way for important technologies. This includes the vital…
Remote desktop access has changed how professionals work with computers across different locations. It enables smooth network connectivity and remote computer access. This technology has transformed collaboration and work methods1. Modern remote desktop solutions support various platforms. Users can connect across Android, Linux, Windows, and Mac systems. These tools are lightweight, requiring quick installation and…
Remote computer access has revolutionised how professionals work across different networks. It enables seamless work environments and provides unparalleled flexibility. Users can control computers from distant locations, transforming modern business operations. The need for remote access solutions has skyrocketed, particularly since the global pandemic. Now, 85% of businesses support remote work capabilities. About 70% of…
The World Wide Web is a digital landscape that connects billions globally. It links people through web pages and information systems. CERN researchers started this groundbreaking technology in 1989, changing how we communicate and share knowledge. The Web lets users explore content via hyperlinks across millions of websites. Internet infrastructure supports this complex network of…
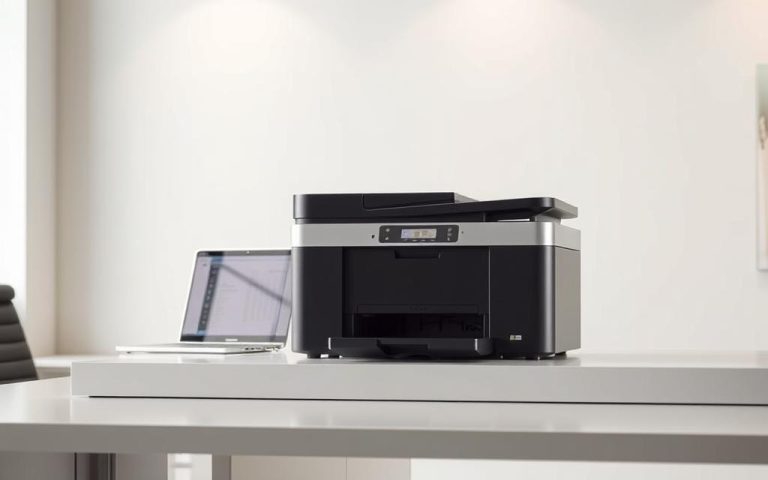
Setting up a printer on your Windows or macOS device doesn’t have to be complicated. Whether you’re in an office or working from home, these steps ensure seamless integration with your system. Modern network configurations allow multiple users to share the same device, boosting productivity. Our guide covers essential instructions for different operating systems, including…
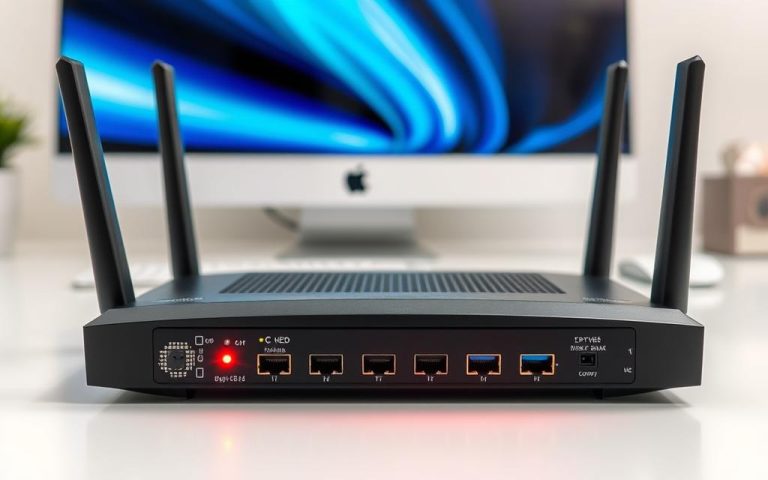
Network connectivity is vital for modern computing. A wireless network adapter lets your computer connect to Wi-Fi networks. This turns your device into a powerful communication tool. Most modern computers come with built-in wireless adapters. About 85% of laptops have integrated Wi-Fi cards. For desktop computers, 70-80% include internal wireless adapters. However, 15% of users…