Printing a network configuration page has steps that vary by printer model and settings. You can use the printer’s front panel, software, web browser, or a test button. Knowing how to do this is key for keeping your network running smoothly and fixing issues.
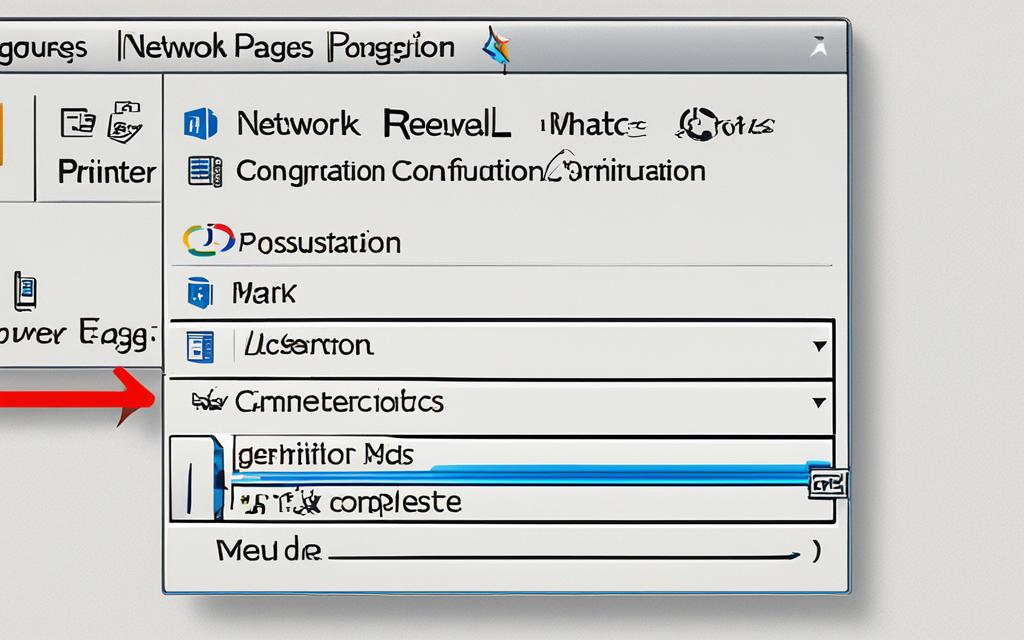
One way to print the network configuration page is through the printer’s front panel. You’ll go through a menu to find the print settings and start the print. The number of steps can be 4 to 7, depending on your printer1. You’ll use buttons like Stop/Start/Continue, Cancel, and Ready/Data/Info to get the job done1.
Another method is using the printer’s software, like BRAdmin. This lets you control the printer and print a test page with setup instructions1. BRAdmin makes it easy to manage your printer and print network configuration pages.
You can also print the configuration page through a web browser if your printer allows it. Just connect to the printer’s home page in your browser, find the print configuration option, and start the print. This way, you get easy access to your printer’s settings2.
Some printers have a special test button at the back. Pressing this button lets you print the network configuration page without using menus or software. It’s a fast way to get the info you need1.
Key Takeaways
Printing a network configuration page has different steps for each printer model and setup.
You can use the front panel, software, web browsers, or test buttons to print the page.
The front panel method needs you to go through menus and use buttons to start printing1.
Software like BRAdmin offers an easy way to access printer settings and print configuration pages1.
Using a web browser to print the configuration page is convenient and flexible2.
Dedicated test buttons on printers give a quick way to get configuration info1.
Printing Network Configuration Page via Printer Front Panel
Printing the configuration page is key to understanding your network printer’s settings and status. You can print this page easily using the printer’s front panel. This is a handy way to get important info.
To start, check your printer’s LCD display type. If it’s a single line LCD, go to the “Information” menu and pick “Print Settings.”3
If your printer has a two-line LCD, go to the “Menu” and “Information” menus. There, you’ll find “Print Settings” to print the configuration page3.
After choosing the right option, press the “Set” key on the front panel. This starts the printing process. You’ll get a detailed configuration page. It shows settings, network info, TekColor settings, and SCSI disk settings if your printer has them3.
This method is great for printers not yet set up on the network. It lets users see important info without needing network access or extra software3.
The support page also has useful info. You’ll find details on registering printers, authorized service providers, warranty, software support, and recycling programs for supplies and cartridges3.
For more printer settings, you can use PhaserLink Software with a TCP/IP connection and a web browser. Or, send a PostScript file from the printer’s network utility software3.
Printing Network Configuration Page via Printer Front Panel
Steps
Navigate to the appropriate menu using the printer’s LCD display.
Select the “Print Settings” option from the menu.
Press the “Set” key to initiate the printing process.
Benefits
Easy access to printer configuration details for printers not configured on the network.
No network connectivity or additional software required.
Printing Network Configuration Page via BRAdmin Application Software
If your printer works with the BRAdmin app, printing the network config page is easy. Just follow these steps to get to the settings:
Launch the BRAdmin application software. (Reference:4)
Double-click on the appropriate printer. This opens a window with printer settings. (Reference:4)
Enter the print server password. Find this in the printer’s user guide. (Reference:4)
After authentication, you can see the control tab of the printer’s settings. (Reference:4)
Select the “Print Test Page” option from the control tab. This starts printing the network config page. (Reference:4)
Using the BRAdmin app and these steps, you can easily get your printer’s network config page.
Printing Network Configuration Page via Web Browser
SEO relevant keywords: web browser, printer device home page, print server password, Reset & Test page
Using a web browser to print the network configuration page is easy and handy. It lets you access important info about your printer. You can go to the printer’s home page through a web browser to manage settings and configurations.
To start, find the “Reset & Test” link on the home page. Clicking it takes you to a page where you might need to enter a password. This password is usually found in the printer’s manual or documentation.
After entering the password, choose “Print Configuration” from the “Reset & Test” page. This lets you print pages with key info on your printer’s network settings and how it connects.
This method of printing the network configuration page is easy and accessible for many users. It gives you quick access to important info without needing extra software or tools.
Printing Network Configuration Page via Test Button
Printers like the NC-3100h and NC-4100h print server have a test button at the back. This button makes it easy to print the network configuration page.
First, make sure the printer is on and you can reach it. Find the test button at the back of the print server. Pressing it will make the printer print the network configuration page right away.
This easy method helps you get important network details. You’ll see the signal strength5 and link quality5 of your wireless LAN. The page also shows the channel5, WEP key options5, IP address5, subnet mask5, default gateway5, and Wireless Direct password needs5.
It also lists timeout intervals5, Bonjour service name5, proxy port5, and certificate fingerprints (SHA-1 and SHA-256)5. These details help users understand their printer’s network settings for better performance.
Here’s what a network configuration page might look like when printed:
Network Configuration Page
Using the test button to print the network configuration page is very helpful. It gives users key insights into their printer’s network settings. This helps with troubleshooting, improving performance, and ensuring smooth printing.
Printing Network Configuration Page on PIXMA MG6120
For PIXMA MG6120 printers, printing the network configuration page is easy. It shows details like the printer’s IP Address, signal strength, and network name6. This can help fix connection problems and make sure you’re connected well.
To print the network configuration page, just follow these steps:
From the HOME screen on your printer, go to the Setup menu.
Choose Device settings from the Setup menu.
In Device settings, pick LAN settings.
Find Confirm LAN settings in LAN settings and select it.
Then, choose Print LAN details and confirm.
This will print the network configuration page. It gives you the info you need for troubleshooting and checking your network6.
Printer Model Series
Instructions
iP, iX, TS, TR, MAXIFY, G, MX, MP, MG, Pro
Follow the steps mentioned above.
Check the Connection status on the network configuration page. An “Active” status means you’re connected well6. Make sure the Network Name or SSID matches your printer’s network6. The IP Address should be like 192.168.1.XXX or 10.0.1.XXX, showing a good connection6.
A Signal Strength above 80% is best for printing and scanning without issues6.
If you have problems, Canon has help options. Log into your Canon Account for support or join the Canon community for help6.
Verifying Network Connection with Network Setup Page
To check your printer’s network connection, print a network setup page. Go to the printer’s control panel and find the Settings menu. Then, pick Reports and Network Setup Page to print it. On this page, look at the first section to see if it says “Connected”. If it does, your network connection is good7.
If it doesn’t say “Connected”, there might be a problem with the network cable or LAN drop. You should talk to your system support person for help.
Importance of Network Configuration Page
The network configuration page is key for managing printer settings and accessing important info. It shows real-time data on the printer’s network connection. This ensures smooth and efficient printing.
By using this page, users can fix network issues easily. It gives detailed info on the printer’s network status, encryption, IPsec settings, and security protocols. These include ESP, ESP & AH, or AH8.
The signal strength, shown as a percentage from 0 to 100%, is crucial910. It helps users check their wireless connection quality. They can then improve it if needed.
This page also lets users manage the printer’s direct connection to a specific channel. This ensures a stable and secure network connection8.
For setting up network printing, the page provides essential details. Users can set up the printer with IP address, subnet mask, default gateway, and DNS server info. These settings are key for smooth network operation and connecting to the right network910.
For users using WSD (Web Services on Devices) printing, the page offers WSD Timeout options. Users can adjust the printing timeout from 1 to 20 minutes810.
Advantages of Using the Network Configuration Page
Using the network configuration page has many benefits for managing printer settings and accessing network info:
Easy troubleshooting of network-related issues
Real-time data on network connection status and signal strength for optimization910
Efficient management of direct connection channel and password settings8
Accurate configuration of IP address, subnet mask, default gateway, and DNS server910
Customizable WSD Timeout options for WSD printing810
The network configuration page is crucial for a reliable and efficient network printing experience. It helps users manage and optimize their printer’s network connection. It provides the settings and info needed for seamless printing8910.
Printing the network configuration page has many benefits. It acts as a record of the printer’s network settings. This makes it easy to look back at the settings when needed11. It also helps fix network problems by giving detailed info on the printer’s connection11.
It’s great for keeping track of the printer’s network setup. You can check if the printer is correctly linked to the network. The page shows the printer’s IP address, subnet mask, default gateway, and more. This helps with fixing network issues1112.
Keeping a printed copy of the network configuration page is key for good network management. It helps network admins understand and tweak the printer’s network settings as needed13. It’s also a handy reference for documenting the network, keeping the printer’s details safe and easy to find12.
For troubleshooting, having a physical copy of the page is a big plus. If there are network problems or errors, you can compare the printer’s settings with what you want them to be1112. This helps spot issues like wrong IP addresses, bad print drivers, or wrong Point and Print setups11.
In summary, printing the network configuration page has many advantages. It helps document the printer’s network settings, aids in fixing network problems, and makes documenting the network easier111213. With a printed copy, network admins can manage and troubleshoot networks well, ensuring accurate records.
Conclusion
Printing the network configuration page is key to keeping and fixing network printers. This guide shows how to print it using the printer’s front panel, BRAdmin app, web browser, or test button. It’s important to check the network connection on the setup page for smooth operation.
The network configuration page is crucial for seeing the network’s status and settings. It shows IP addresses, network protocols, and how the printer is set up. This helps you find and fix network problems and make sure the printer connects well to the network.
Knowing how the network configuration page works helps you manage and fix network printers better. It lets you improve the printer’s performance and security by adding the MAC address to the router or access point. Keeping the printer’s software and firmware updated also boosts performance and security.
In summary, the network configuration page is a powerful tool for managing and troubleshooting network printers. By using the steps in this guide and the info on the configuration page, users can keep their networks running smoothly and solve any problems that come up14.
FAQ
How can I print a network configuration page?
You can print a network configuration page in several ways. It depends on your printer model and settings.
How do I print the network configuration page using the printer’s front panel?
Use the printer’s front panel to print the network configuration page. Go through the menu to find print settings and start the printing.
Can I print the network configuration page using the printer’s software application?
Yes, you can use the BRAdmin application software if your printer is compatible. Access the printer’s control settings and print a test page from there.
Is it possible to print the network configuration page using a web browser?
Yes, use a web browser to print the network configuration page. Connect to the printer’s device home page and select the print configuration option.
How can I print the network configuration page using the test button on the printer’s print server?
Press the test button at the rear of some printers. This will print the network configuration page.
What are the steps to print the network configuration page on PIXMA MG6120 printers?
Start from the HOME screen, then go to the Setup menu and select Device settings. Next, go to LAN settings and choose Confirm LAN settings. Finally, select Print LAN details and confirm.
How can I verify the network connection of my printer?
Verify the network connection by printing a network setup page. Go to the printer control panel, then the Settings menu, and select Reports and Network Setup Page to print it.
What information does the network configuration page provide?
The network configuration page shows details about the printer’s network connection. It includes the IP address, subnet mask, default gateway, and DNS server.
What are the benefits of printing the network configuration page?
Printing this page helps with troubleshooting network issues. It also aids in network documentation for maintenance and setup.
How can I print a network configuration page with the steps provided?
Follow the guide’s instructions to print the network configuration page. Use methods like the printer’s front panel, BRAdmin software, web browser, or test button.
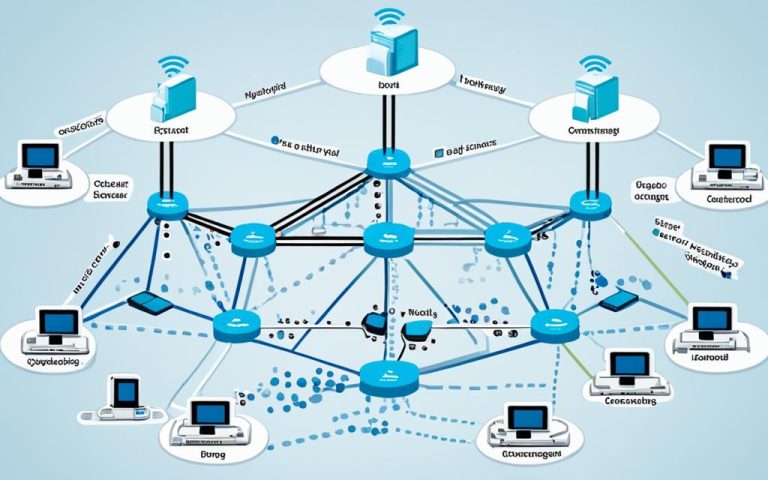
Computer networks are key to our digital world, connecting people, devices, and resources. They make communication smooth and help use resources well. It’s important to know how they work to…
Social network URLs are key to a strong online presence. They help individuals and businesses make the most of their online space. This article will cover what social network URLs…
This guide will teach you how to spot unknown devices on your network. You’ll learn about checking MAC and IP addresses and how to remove unknown devices. It also covers…
The Haven Network was started by Amazon, JP Morgan Chase, and Berkshire Hathaway. It aims to change the healthcare industry and help communities grow. This group focuses on supporting its…
Dish Network is a big name in the telecom world, facing both challenges and chances ahead. By looking at its past finances, what analysts think, and trends in the industry,…
Network topology is about how devices and connections are set up in a computer network. It shows how these parts work together. Knowing about different network topologies helps make networks…