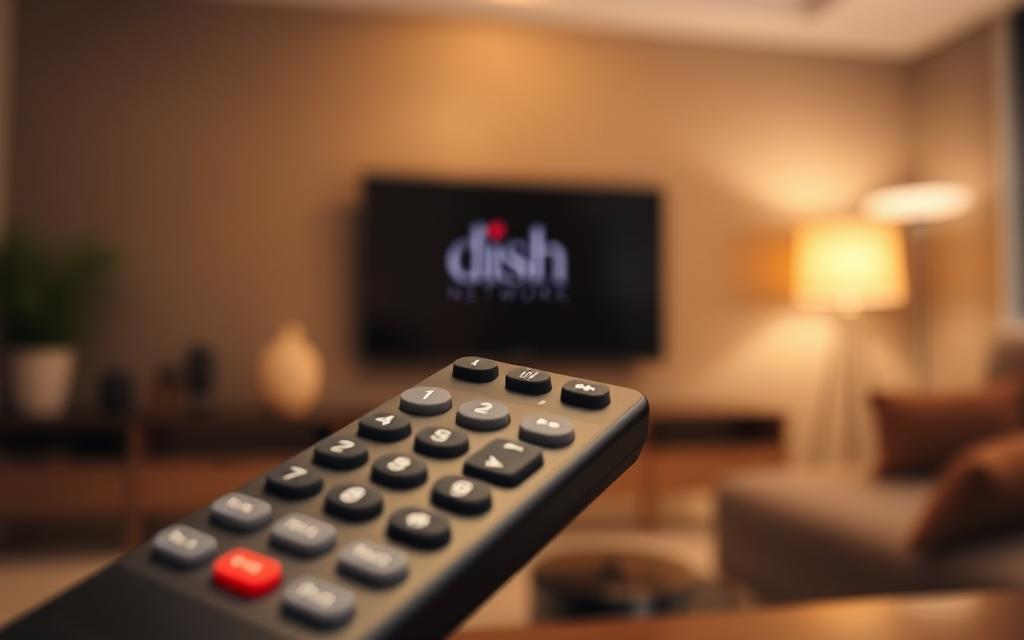
Setting up your Dish Network remote is a straightforward process that requires just a few simple steps. Whether you’re starting with a new Dish receiver or need to pair an additional remote control, this guide will walk you through the entire process.
Understanding the different types of Dish remotes and their compatibility with various receivers is crucial. Newer models (40.0 or higher) work with Hopper, Joey, and Wally receivers, while older models (32.0 or lower) are typically used with ViP receivers. For more detailed information on managing your Dish Network remote, you can visit our guide on changing input on Dish Network remote.
By following these instructions, you’ll be able to maximize the functionality of your remote and streamline your entertainment system management.
Understanding your Dish Network remote is the first step towards a seamless viewing experience. To get the most out of your Dish Network service, you need to be familiar with the type of remote you have and its capabilities.
Different Types of Dish Network Remotes
Dish Network offers several remote control models that vary in features and compatibility. The main distinction lies between newer models (40.0 or higher) and older models (32.0 or lower). Newer remotes typically come with Hopper, Joey, and Wally receivers and feature advanced functionality, including voice control capabilities on some models.
Before beginning the setup process, ensure you have your Dish receiver powered on and connected to your TV. Verify that your remote has fresh batteries installed. You may need to reference your remote’s model number, usually found inside the battery compartment, to follow the correct setup instructions for your specific remote type.
Ensure your Dish receiver is powered on and connected to your TV.
Verify that your remote has fresh batteries installed.
Have your TV and other devices (DVD players, sound systems) powered on to verify successful pairing during setup.
How to Set Up a Dish Network Remote with Your Receiver
Pairing your Dish Network remote with your receiver is essential for controlling your TV experience effectively. The setup process varies depending on the model of your remote.
For Newer Remotes (Models 40.0 or Higher)
For newer remotes, such as those included with Hopper, Joey, and Wally receivers, the setup involves using the on-screen Pairing Wizard. To access it, press the HOME button twice (or MENU once if your remote doesn’t have a HOME button), navigate to Settings, then Remote Control, and select the device you wish to pair. The Pairing Wizard will guide you through the process with step-by-step instructions on your TV.
For Older Remotes (Models 32.0 or Lower)
For older models, the process is more manual. You need to point the remote at your receiver and press specific button combinations. Hold the appropriate mode button until all four mode buttons light up, then use the Power and Up arrow buttons to establish the connection. This method requires a bit more effort but is still straightforward.
Programming Your Dish Remote to Control Other Devices
Enhance your home entertainment experience by programming your Dish remote to control multiple devices. Your Dish Network remote can be programmed to control various devices beyond your Dish receiver, including your TV, DVD player, Blu-ray player, and sound system.
Setting Up Your Remote with Your TV
To program your Dish remote for your TV, point the remote at your TV and press the TV mode button until all mode buttons light up. Then, enter the three-digit remote control code for your TV brand. For more information on finding the correct code, you can refer to our guide on programming your Dish Network remote to your. Press the # button, and the TV mode button will flash three times. Finally, press the POWER button on your Dish remote to test if the TV turns off.
Programming for DVD Players and Sound Systems
For DVD players and sound systems, the process is similar. Use the DVD or AUX mode button and enter the correct three-digit code for your device brand. If you’re using the AUX button, precede the code with 0 for a TV, 1 for a Blu-ray/DVD player, or 2 for other devices. This flexibility allows you to control multiple devices with a single remote, simplifying your entertainment setup.
Troubleshooting Common Pairing Issues
Common issues when programming your Dish remote include entering incorrect codes, low battery, or obstructions between the remote and device. To resolve these issues, ensure you’re using the correct code, replace the batteries if necessary, and remove any obstructions. If problems persist, try alternative codes or reset your remote. You can also set up volume lock to control your TV or sound system volume consistently across all modes.
Device
Mode Button
Code Prefix
TV
TV
0
Blu-ray/DVD Player
DVD or AUX
1
Other Devices
AUX
2
Conclusion
Configuring your Dish Network remote is the first step towards a more enjoyable home entertainment experience. By following the steps outlined, you can easily set up your Dish remote control to manage multiple devices with ease. Regular maintenance, such as cleaning and removing batteries during storage, can extend its lifespan. If you encounter issues, Dish Network’s customer support is available at 1-800-333-3474. Properly paired, your remote will simplify your viewing experience, allowing for volume control and navigation across all connected devices.
FAQ
What is the first step in programming my Dish Network remote?
The first step is to identify the type of remote you have and the devices you want to control. Make sure you have the mode button and the device you want to control nearby.
How do I know if my Dish Network remote is compatible with my TV or DVD player?
Check the remote control manual or the manufacturer’s website for a list of compatible devices. You can also try programming the remote using the code for your device.
What should I do if my Dish Network remote is not responding after programming?
Try re-pairing the remote with your receiver or check the batteries. If the issue persists, refer to the troubleshooting section in your remote control manual.
Can I use my Dish Network remote to control multiple devices?
Yes, most Dish Network remotes can be programmed to control multiple devices, including TVs, DVD players, and sound systems. Simply follow the programming instructions for each device.
How do I adjust the volume on my TV using my Dish Network remote?
Press the mode button to switch to TV mode, then use the volume buttons to adjust the volume. You may need to program the remote to control your TV’s volume.
What if I need to program my Dish Network remote multiple times?
If you’re having trouble programming your remote, try resetting it to its factory settings. This will allow you to start the programming process again from scratch.
Can I use my Dish Network remote with a different receiver?
In most cases, yes. However, you may need to re-program the remote to work with the new receiver. Refer to the receiver’s manual for instructions.
Encountering the “Could Not Activate Cellular Data Network” error can be frustrating, especially when you need to access the internet or use data-dependent apps. This error indicates that your device is having trouble connecting to the mobile data network, a problem that can occur on both iOS and Android devices. The issue is akin to…
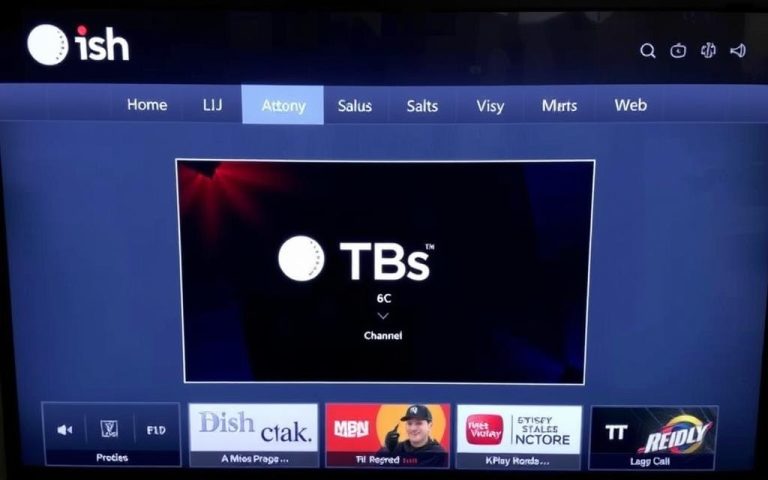
Finding your favorite networks on Dish Network can be challenging due to its extensive lineup. With numerous channels available, subscribers often struggle to locate their preferred entertainment options. TBS is a popular channel on Dish Network, offering a mix of comedy shows, movies, and sports programming, including March Madness basketball coverage. To enjoy TBS, you…
When your Android phone displays a “not registered on network” error, it means your SIM card can’t connect to your carrier’s system. This issue prevents you from making calls, sending texts, or using data. The problem can stem from simple SIM card issues to complex system problems. Understanding the causes behind network registration failures is…
Paramount Network is a premium entertainment channel that offers a diverse range of scripted and non-scripted programming, available on Dish Network. With a rich history dating back to its former identity as Spike TV, Paramount Network has evolved to become a hub for top entertainment, featuring exclusive movies and action-packed reality shows in crystal-clear HD….
Protocol architecture is the blueprint for data communication in modern computer networks. It relies on complex network protocols to enable smooth information exchange across various platforms. Layered architecture breaks down data communication tasks into manageable segments. The OSI model, with seven layers, shows how protocols organise efficient data transmission. Advanced protocol standards ensure robust and…
Remote computer connectivity is vital in today’s digital world. It allows people to access computers across different networks with ease. Remote access solutions have grown by 25% yearly in remote work settings. To connect computers, you need to know about remote access tech. Windows is the top platform, used by 75% of desktop users. But…