Mapping a network drive is a straightforward process that allows you to access shared files and folders across your network. This comprehensive guide will walk you through the steps to create a persistent connection to a network location, making it easier to share resources and collaborate with others.
By mapping a drive, you can eliminate the need to remember complex network paths, saving time and improving your workflow efficiency. Whether you’re a personal or professional computer user, this guide will cover multiple methods for mapping network drives, including the user-friendly File Explorer approach and more advanced command-line techniques.
This guide is designed to help you quickly set up and troubleshoot network drive connections, ensuring successful access to shared files and enhancing your overall productivity.
The ability to map network drives has revolutionized the way we access and share files. This process allows users to create a shortcut to a shared folder on a network, making it easily accessible through File Explorer.
What Is a Network Drive?
A network drive is a storage device connected to a network rather than directly to your computer, allowing multiple users to access the same files and resources. When you map a network drive, you’re creating a shortcut that assigns a drive letter to a shared folder location on your network. For more information on setting up a network, check out our guide on adding a computer to a network.
Mapping network drives simplifies access to shared resources, improves workflow efficiency, and eliminates the need to remember complex network paths. It also facilitates collaboration by providing centralized file storage that multiple team members can access simultaneously, saving time in the process.
How to Map a Network Drive Using File Explorer
To map a network drive, start by utilizing File Explorer, a built-in Windows tool designed for file management. This process is straightforward and requires no advanced technical knowledge.
Opening File Explorer and Accessing Map Network Drive
The first step involves opening File Explorer. You can do this by clicking on the folder icon in your taskbar or by typing “File Explorer” into the Windows search bar. Once open, navigate to “This PC” on the left-hand side.
Selecting a Drive Letter
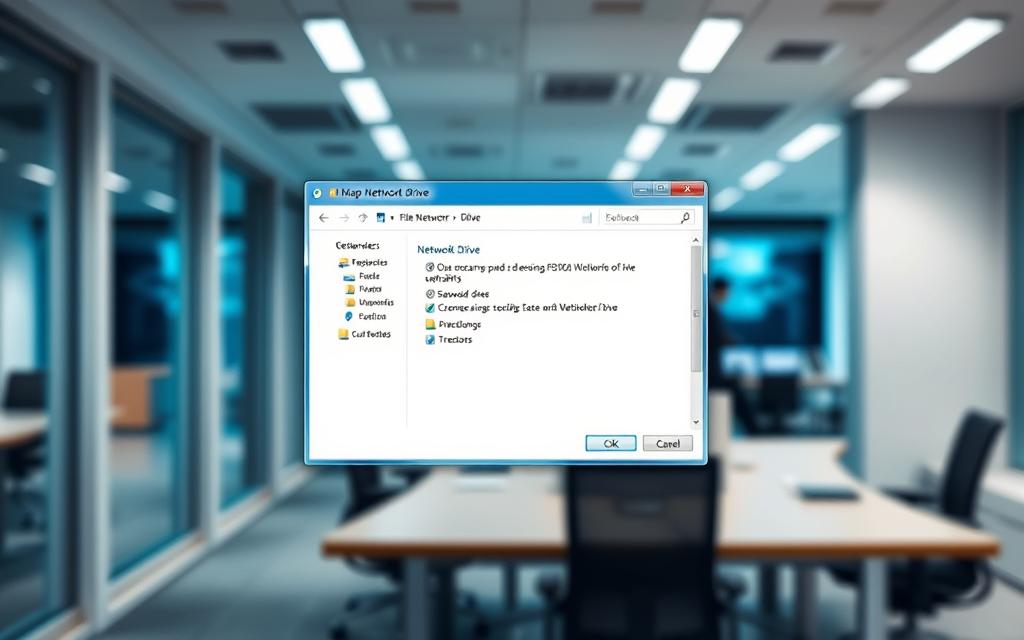
After accessing “This PC,” look for the “Computer” or “Drive Tools” tab at the top of the File Explorer window. Click on it and select “Map Network Drive.” In the new window, choose an available drive letter from the drop-down menu. Letters like X:, Y:, or Z: are commonly used.
Entering the Network Path
In the “Folder” field, enter the network path of the shared folder you wish to map, typically in the format \\servername\sharedfolder. If unsure, you can click “Browse” to locate the folder.
Setting Additional Options
You will see two checkboxes: “Reconnect at sign-in” and “Connect using different credentials.” Check the first box to ensure the drive is available every time you log in. Use the second option if different login credentials are required.
Completing the Mapping Process
Click “Finish” to complete the process. The network drive will now be visible under “This PC” in File Explorer, allowing you to access the network location as if it were a local drive.
The File Explorer method is user-friendly and requires no command-line knowledge.
Consider using drive letters towards the end of the alphabet to avoid conflicts.
The “Reconnect at sign-in” option ensures consistent access to the mapped drive.
Alternative Methods for Mapping Network Drives
Alternative approaches to mapping network drives are available beyond File Explorer. For users who are comfortable with command-line interfaces, both Command Prompt and PowerShell offer efficient alternatives.
Using Command Prompt
To map a network drive using Command Prompt, start by opening it: press Win + R, type cmd, and hit Enter. Inside the Command Prompt window, use the net use command followed by the drive letter you wish to assign and the network path. For example: net use Z: \\server\sharedfolder. Press Enter to execute the command. If successful, you’ll see a confirmation message.
Basic Net Use Command Syntax
The basic syntax for the net use command is net use [drive letter]: \\server\sharedfolder. Replace [drive letter] with your desired drive letter and \\server\sharedfolder with the network path.
Verifying the Connection
After executing the net use command, you can verify the connection by typing net use without parameters. This will display all currently mapped network drives and their status.
Using PowerShell
PowerShell is another powerful tool for mapping network drives, especially useful for automation and scripting tasks. Open PowerShell from the Start menu and enter the command: New-PSDrive -Name "X" -PSProvider FileSystem -Root "\\server\sharedfolder" -Persist. Replace "X" with your desired drive letter and "\\server\sharedfolder" with the network path.
PowerShell Mapping Commands
The New-PSDrive cmdlet is used with the -Persist parameter to ensure the drive mapping remains after rebooting. This is similar to checking “Reconnect at sign-in” in the File Explorer method.
Advantages of PowerShell Method
PowerShell offers significant advantages for IT professionals, including the ability to create scripts that map multiple network drives across numerous computers. It also provides more secure credential handling when using different credentials for the shared folder.
Both Command Prompt and PowerShell methods can be incorporated into batch files or login scripts to automate the mapping process for multiple users in an organization, making them particularly valuable in environments where remote administration or batch processing of network configurations is required.
Conclusion
Mastering how to map network drives is a valuable skill in today’s connected environments. We’ve explored three primary methods: using File Explorer, Command Prompt, and PowerShell. Each offers unique advantages, from visual guidance to advanced automation. By choosing the right method, you can efficiently access shared folders and improve productivity. For more detailed instructions, visit our guide on how to map network drives in Windows 10 and. This skill will save you time and enhance your workflow.
FAQ
What is the purpose of mapping a network drive?
Mapping a network drive allows you to access a shared folder on another computer as if it were a local drive on your own computer, making it easier to share files and collaborate with others.
Can I map a network drive using different credentials?
Yes, you can map a network drive using different credentials by checking the box that says “Connect using different credentials” when you are mapping the drive, and then entering the username and password for the shared folder.
How do I access a mapped network drive?
Once you have mapped a network drive, you can access it by opening File Explorer and looking for the drive under “This PC” or “Computer”, where it will be listed with the drive letter you assigned to it.
What if I need to change the drive letter of a mapped network drive?
You can change the drive letter of a mapped network drive by going to “This PC” or “Computer” in File Explorer, right-clicking on the drive, and selecting “Change Drive Letter and Paths”.
Can I map multiple network drives on the same computer?
Yes, you can map multiple network drives on the same computer, each with its own drive letter and connection to a different shared folder.
What are the benefits of using Command Prompt or PowerShell to map a network drive?
Using Command Prompt or PowerShell to map a network drive allows for more advanced options and automation, making it a good choice for power users and IT professionals who need to map drives on multiple computers.
Cisco is revolutionizing the way businesses operate with its Digital Network Architecture (DNA), an open, extensible, and software-driven architecture designed for the digital era. This innovative approach transforms networks from mere connectivity providers to strategic business assets, enabling digital transformation initiatives. By extending the policy-driven approach and software strategy throughout the entire network, Cisco DNA…
Creating a robust computer network is vital in our interconnected world. Over 65% of households now have multiple internet-connected devices. This makes understanding network installation crucial for everyone. A good network setup guide can change how we manage digital infrastructure. Most homes have 10-15 connected devices. These range from computers to smart home gadgets. About…
The Digital Living Network Alliance (DLNA) is a technology standard that enables devices to communicate and share media content seamlessly. This allows users to stream and transfer media files, such as photos, videos, and music, between different devices within a home network. By establishing a common protocol for media sharing, DLNA eliminates many technical barriers…
Finding your favorite news channels on Dish Network is straightforward. If you’re looking for Fox News, it’s available on channel 205. To navigate to it, you can use the search function on your Dish guide or browse through the channels. For new subscribers, it’s essential to know that channel numbers can vary slightly by region….
In today’s world, sharing files across computers on the same network boosts productivity and teamwork. It’s important in both home offices and businesses to master local network file transfers. This guide will cover methods like network discovery, nearby sharing, cloud services, and using external storage. Knowing how to share files effectively can make teams work…
Setting up a printer on your Windows or macOS device doesn’t have to be complicated. Whether you’re in an office or working from home, these steps ensure seamless integration with your system. Modern network configurations allow multiple users to share the same device, boosting productivity. Our guide covers essential instructions for different operating systems, including…